Hi There!
I'm Quiana adams
I am a food photographer and stylist, recipe developer, and educator, providing professional services for brands and insightful education for hobbyists and aspiring food photographers alike.
Recipes
Resources
Guides
categories
find me on Instagram
props i love
visit the prop shop
No photoshoot is complete without the right props.
looking for coaching?
BOOK now
Favorite Food Photography Tools

It takes a bit more than camera equipment and food photography dishes to style a food photoshoot. This post will show you my favorite food photography tools I use to make my life easier. I love being a food photographer, and having the right food styling tools and photography lighting tools are essential to making my shoots flow smoothly. No matter your skill level, you may be surprised by how everyday food products, kitchen tools, crafting tools, and having the right food photography gear can help create fantastic food photography images.
If you’re a food photographer or thinking about getting into food photography, you realize how much planning must go into every single shoot. You have to have your arsenal of tools at your disposal, and it takes a little time to develop them, but I’m going to give you these top tools that I use because they help me out so much.
Baking Pans
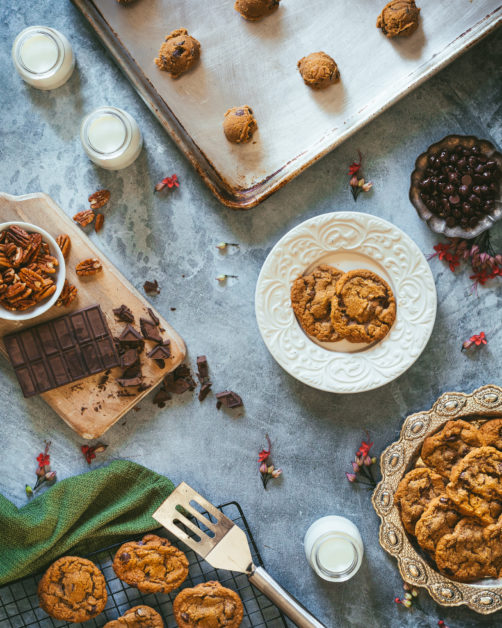
We’re going to start with something that’s probably a little unusual: baking pans! My favorite baking pans to use in food photography are ones that have been baked on many times because they have a lot of character. For food photography, if you place your items on a cookie sheet, it adds a cool background and visual effect. Don’t throw out old or used pans because they come in handy as cool backgrounds for your food.
Canon Connect
The next tool that I enjoy using for my food shoots is Canon Connect. Canon Connect is awesome because I can use it both on my phone and my iPad. I do tether to my laptop, but sometimes I don’t want to mess with it. If you are a Canon user, this is a great tool to remotely tether your camera.
Miniature Baking Tools
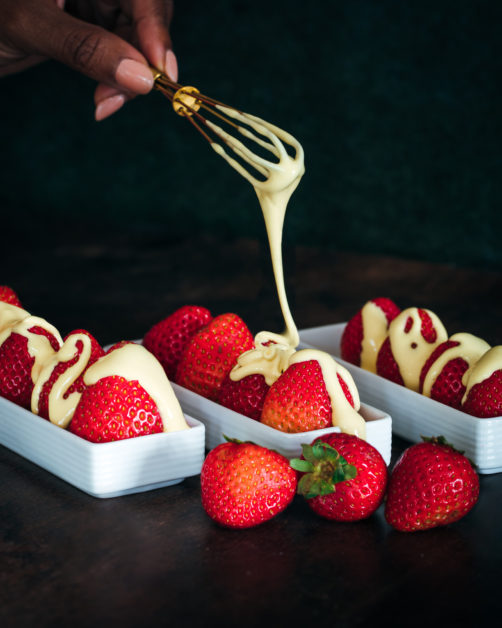
I love miniatures! First of all: they are cute. Second, miniatures are great to use if you have a small space. A giant whisk can take up a lot of space in your photo, but a small whisk adds the perfect touch.
Paintbrushes
The next food photography tool that I enjoy using is paintbrushes. Paintbrushes are helpful if you are working with things like flour, powdered sugar, or granules of any kind because you can easily brush these things out of the way.
Alka-Seltzer
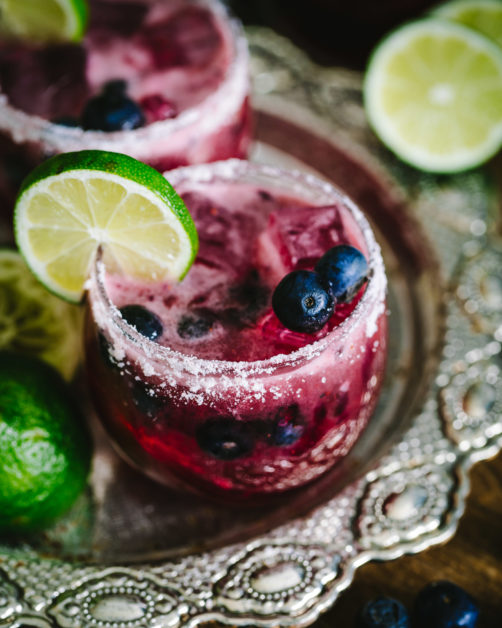
Alka-Seltzer is my favorite tool when I’m shooting beverages. My shoots can take a long time sometimes, which isn’t great if I am taking pictures of a drink that is supposed to be fizzy. After the fizz goes away, I can break off the tiniest piece of an Alka-Seltzer tablet, plop it into my drinks, and they start to fizz and become more effervescent.
Miniature Bowls
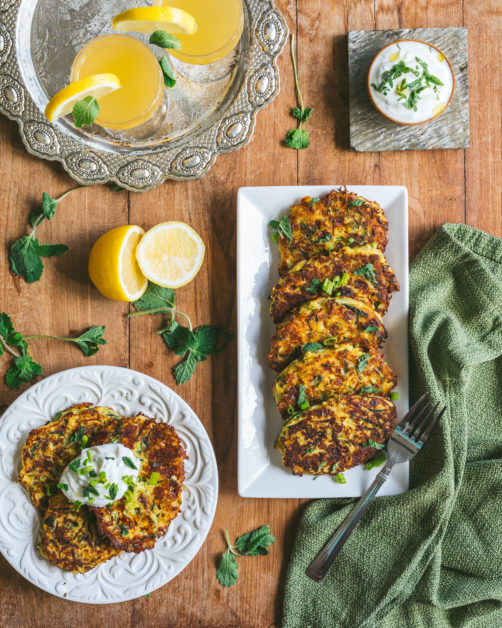
You will see tiny ceramic or wood bowls in many of my food photos because miniature bowls can add another visual element to your image. They are one of the staples in my photography because I always like to tell a story of what the dish is. If I’m shooting chocolate chip cookies, I might use a small bowl to put chocolate chips. If there are nuts in the recipe, then I will put nuts in a miniature bowl.
Whole Spices
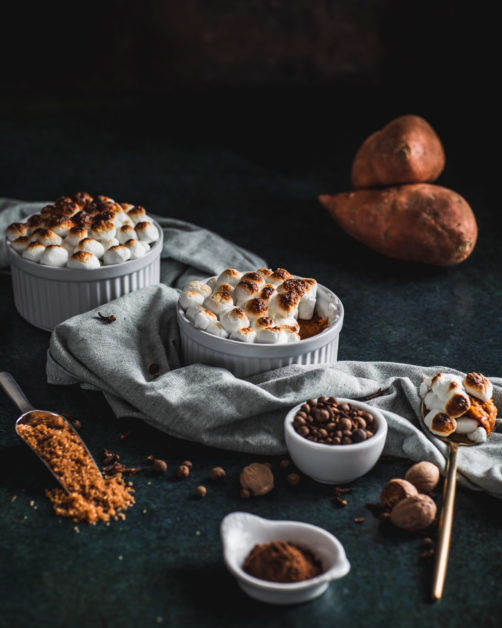
The whole point of food photography is to add more visual interest to the photo, which is why I love using whole spices. I have cinnamon sticks, peppercorns, cloves, allspice, and many more. Luckily, whole spices have a long shelf-life, so you can use them for a while.
Cutlery
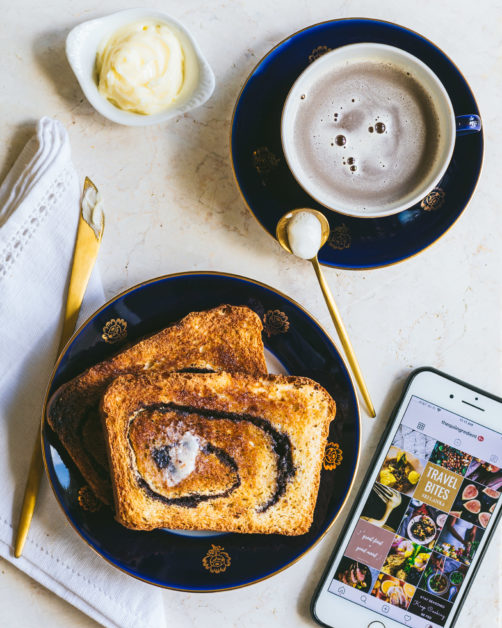
I use a lot of our day in and day out forks, knives, and spoons for my photoshoots, but I also think that it is important to find a nice set of cutlery for your food photos. You don’t have to break the bank, but you should find something that you like and fits in well with your brand.
Fake Ice
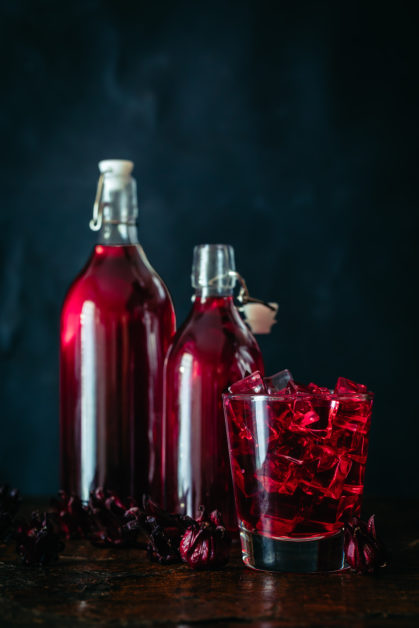
Food photography is all about optical illusions, which is why I love using fake ice. Fake ice does not float like real ice, but it does give you the illusion of a beautiful ice-cold drink.
Spray Bottle
If you are going to be using fake ice to give the illusion of a drink looking cold, a spray bottle will also be a great purchase. You can find many different spray bottles that do a fine job, but I like using one that creates a mist.
Not only can you use your spray bottle when taking pictures of drinks, but you can also use it to spray vegetables to give them that freshly spritzed produce look.
Oil
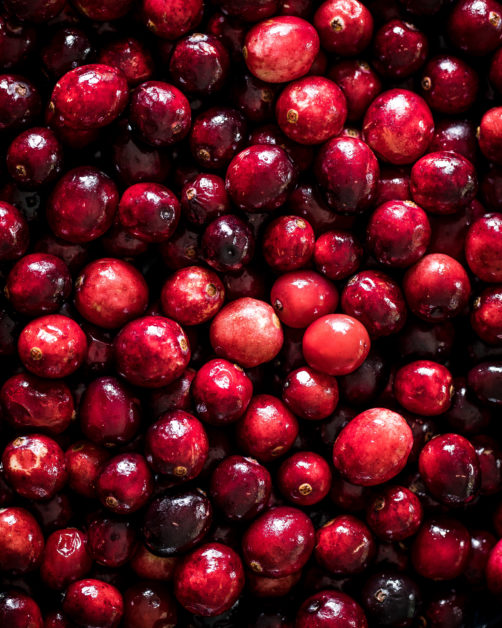
I love using oil when I am taking pictures of produce, especially foods like berries or cranberries. I like to use oils that are safe and edible like olive oil or avocado oil so I can eat my food when I am done photographing it. Just remember, a little bit of oil goes a long way.
I would not put oil in my spray bottle, but you can buy ones made specifically for oil. I purchased an oil mister a long time ago at a thrift store.
Parchment Paper
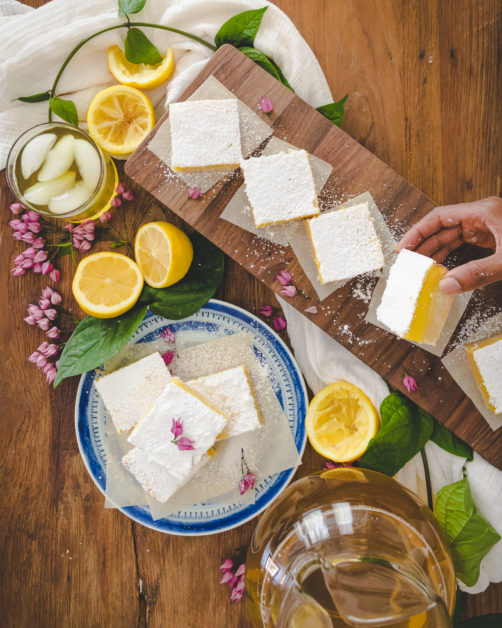
Parchment paper helps with setting up and adding layers to your compositions. The beauty of parchment paper is that you can cook with it, but you can also use it in various ways in your food photography, like putting your desserts on top of it, laying it on top of a plate or in a tray. Parchment paper adds another layer to your photos, which will create visual interest and catch peoples’ eyes.
Modeling Clay
Because I have children, I have a lot of modeling clay. I have shot food where I needed a wonton taco to stand up, and it wanted to lean. I put two little balls of modeling clay on either side of the shell, and it stood up perfectly.
Twinkle Lights
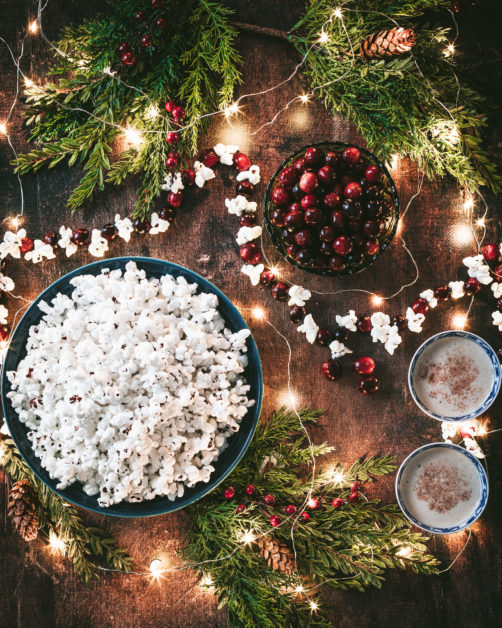
Food photography is all about creating more visual interest and depth in your images. This is why I love using twinkle lights, especially for holiday photoshoots. If you are shooting straight on and you have your focal point, you can put twinkle lights in your backdrop which will draw your eyes into the photo.
Tri-Fold Backboard
If you are trying to stop light from leaking onto your scene, or you need a matte black backdrop, you should buy a tri-fold backboard. It stands up on its own, so you don’t have to find something to prop it up.
Diffuser
If you want to become a food photographer, the first thing you should buy is a diffuser. I have a five-way diffusion disk that I love because it has silver, black, white, and gold.
Recently, I accidentally bought non-stick pan lining paper when I was trying to buy parchment paper. I realized that this could also be an alternative to buying a diffuser because one side is silver and the other side is white. The silver side will help to bring more light to the area of your photo that needs it.
If you want to learn more about food photography, make sure to check out my other posts here. If you enjoyed watching the video, make sure to subscribe to my YouTube channel where I will share more food photography tips.
What item do you already have in your food photography tools, and which one will you be adding? Leave a comment below to let me know!
Add To Pinterest
Leave a Reply Cancel reply
You must be logged in to post a comment.
Done-For-You Seasonal Content Delivered To Your Inbox
Join The Qui Ingredient community to receive drag and drop content ideas planning tools and new backdrop releases.
find me on instagram - @thequiingredient
Menu
Homepage
About Quiana
work with me
subscribe to the newsletter
Copyright © The Qui Ingredient
Designed by Gillian Sarah
terms & Conditions
site notice
I am a food photographer, educator, and recipe developer, sharing my passion for bringing flavor to life through stunning visuals.
Hey there,
Privacy Policy
Disclaimer
read the blog