Hi There!
I'm Quiana adams
I am a food photographer and stylist, recipe developer, and educator, providing professional services for brands and insightful education for hobbyists and aspiring food photographers alike.
Recipes
Resources
Guides
categories
find me on Instagram
props i love
visit the prop shop
No photoshoot is complete without the right props.
looking for coaching?
BOOK now
Styling A Food Photo Shoot Without Dishes.
No Plates No Problem!
I am going to show you how I style my food photoshoots without plates or dishes. I will also share some food styling tips and tools I use for this method and food photography compositions to get you well on your way to a NO PLATES NO PROBLEM state of mind. Food styling can be fun, and when you take the minimalist approach to food photography by limiting the number of food photo props used, you can really focus on showcasing the most important subject, the food.
When I first started out, I had a lot of anxiety about styling shoots, especially because my prop collection wasn’t where I wanted it to be. Even though it’s growing and it’s a lot better, I find that there is a beauty in minimalism.
I want to show you the props that I use when I’m styling a minimal shoot. A lot of these things you already have in your kitchen, so it’s going to make it really easy for you to get started.
Food Styling Tools
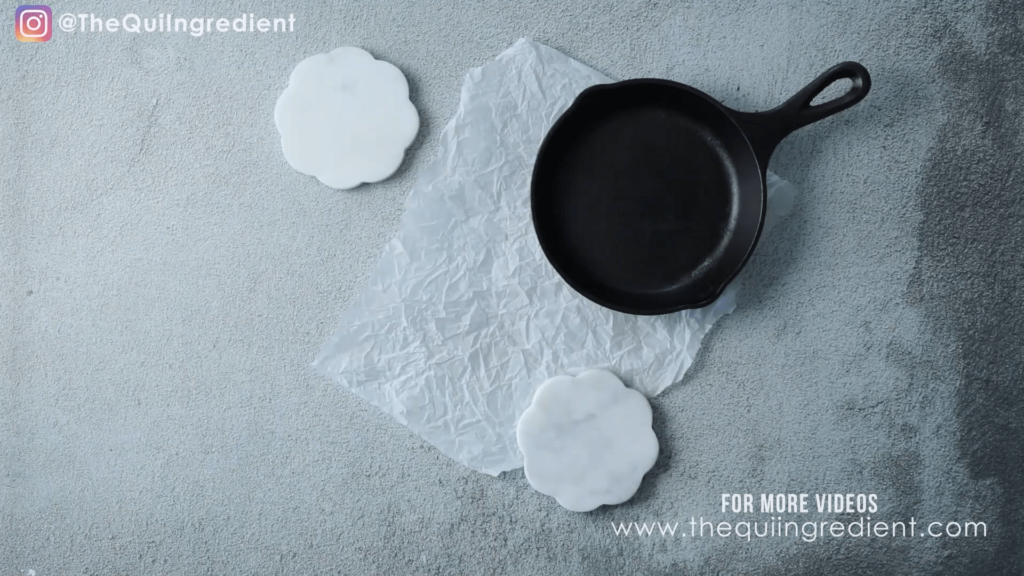
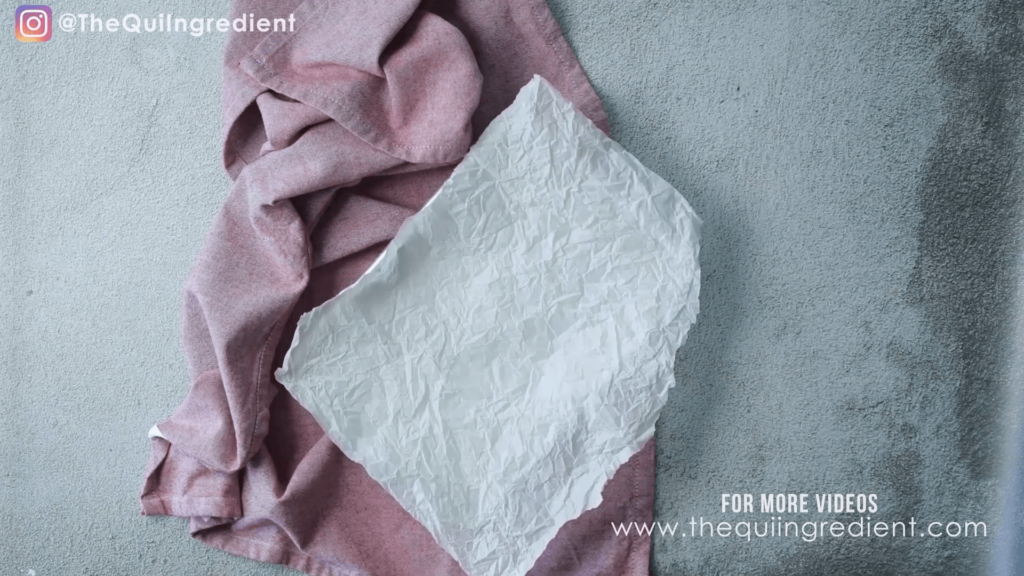
- Parchment paper
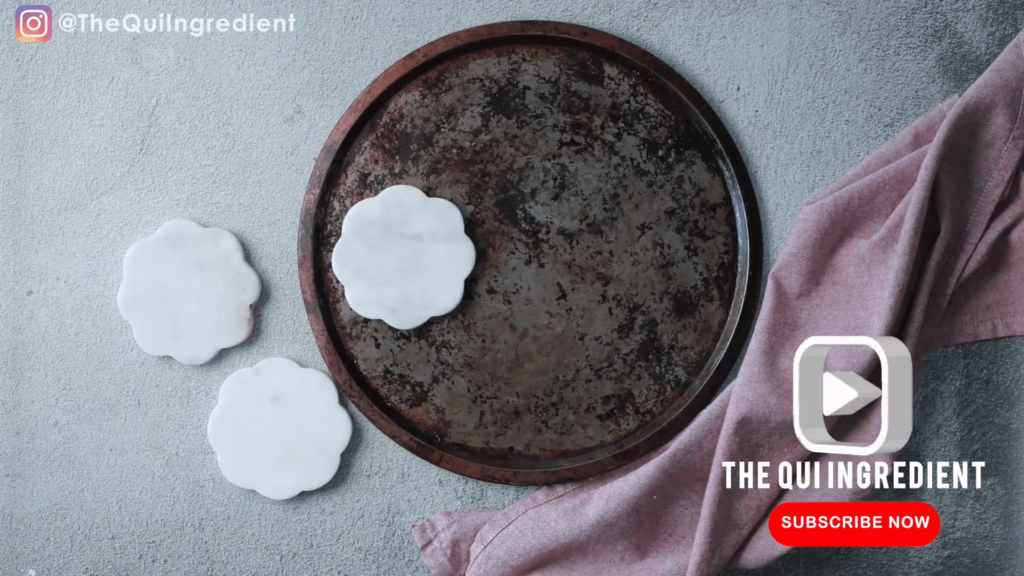
- Drink coasters
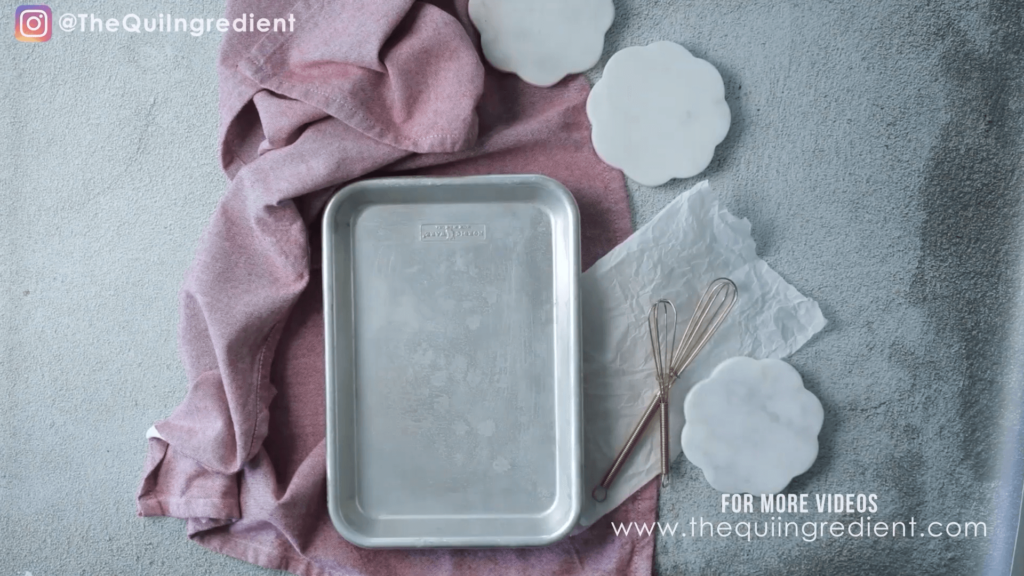
- Miniature baking sheets
- Cooling Racks
- Small Frying Pans
- Cutting Board
- Napkins (Prop Cloth)
No Plates, No Problem
To start our no plate, no problem setup, I’m going to pull out my backdrop. When you’re doing a no plate, no problem composition, you want to think about your lines and layering. These are two essential composition rules that help with visual interest and attracting the viewer.
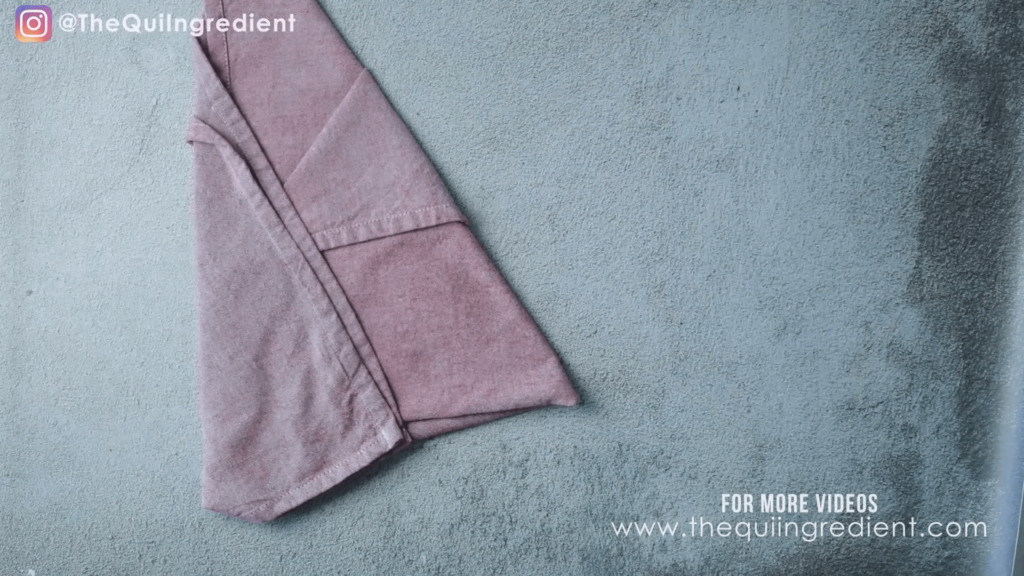
I’m starting with my prop cloth or styling napkin. I’m going to fold it in a way to give it a straight-angle look I like. You can really have fun with this. Depending on how I set up the rest of my elements, I’ve got several lines that can be used to direct the eye.
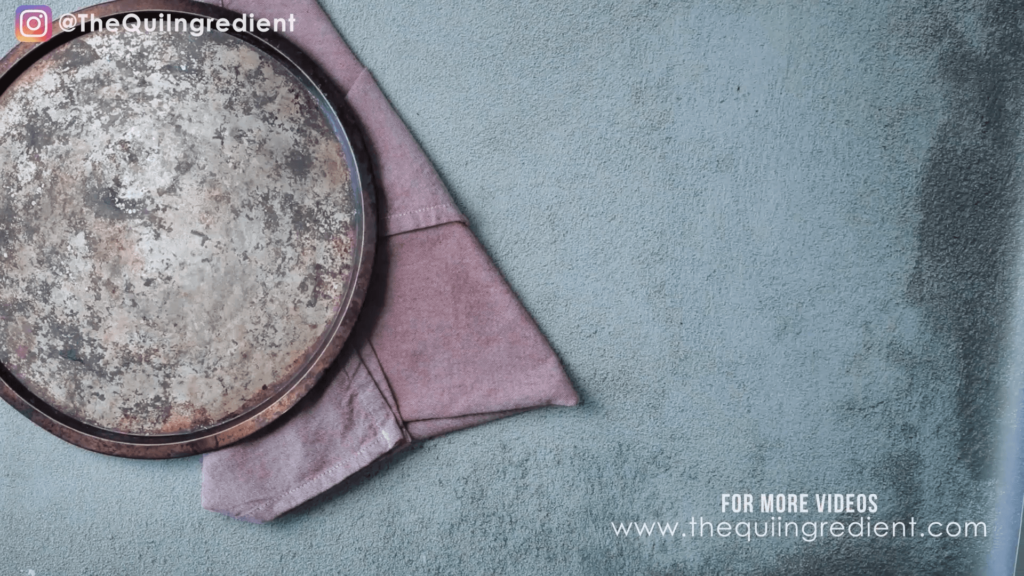
Next, I’m going to place this cookie sheet.

Now I have this miniature pan. I can put some crostini on the cookie sheet and a dip in the pan. All of my lines and angles are leading your eye to come right here into the center. Depending on what I put on the cookie sheet, whether it’s chips, bread, or other little dip bowls, it will center around what is in the miniature pan.
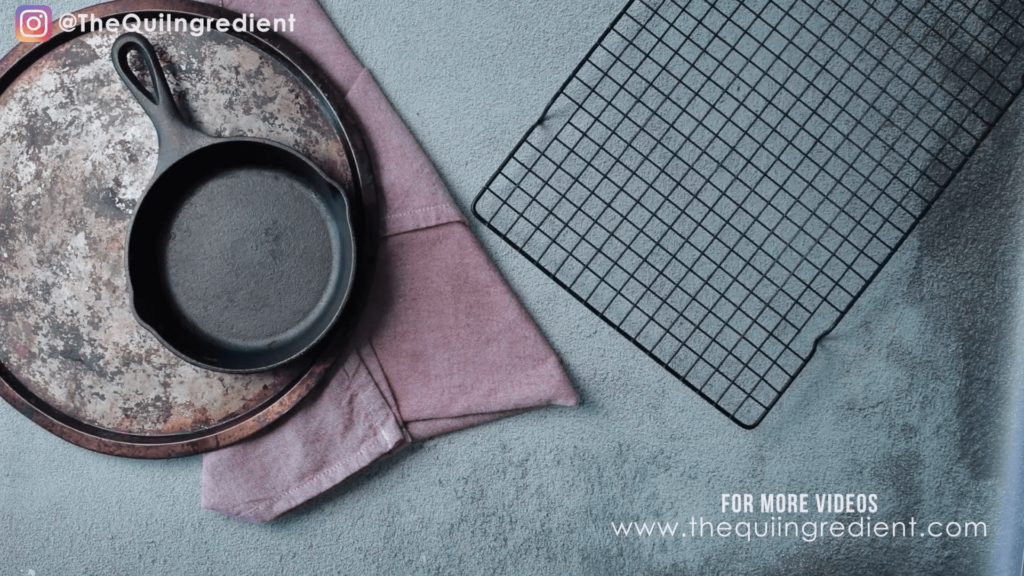
Now I’m adding some other visual interests here with this wire rack. In my storytelling, if this is the finished product, then maybe I would have some bread or something that just came out of the oven that’s cooling on the wire rack. It comes in and is still drawing your eye to the miniature pan, which is my focal point.
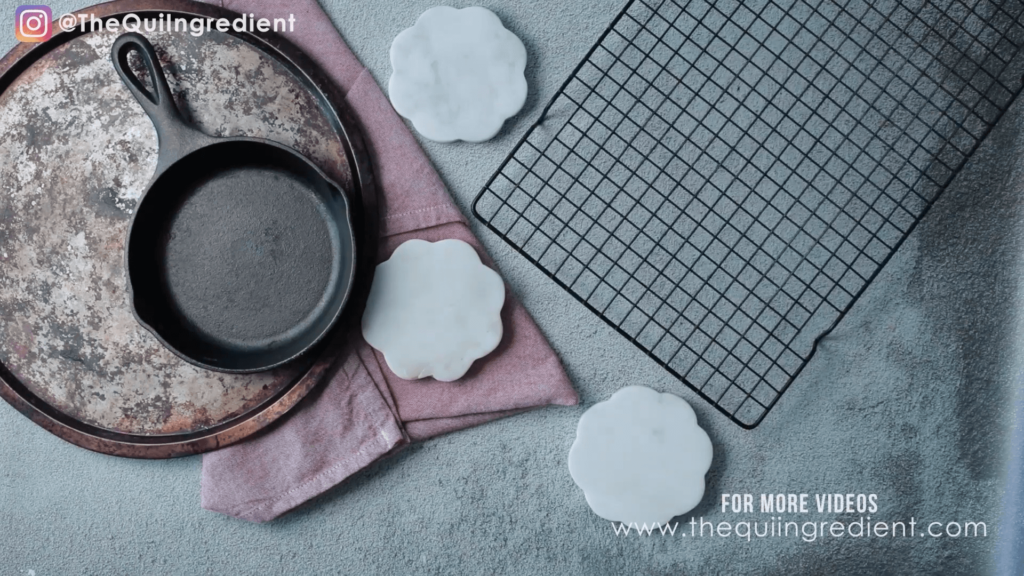
I love adding coasters to a scene because they not only elevate your subject but also add other parts of visual interest.
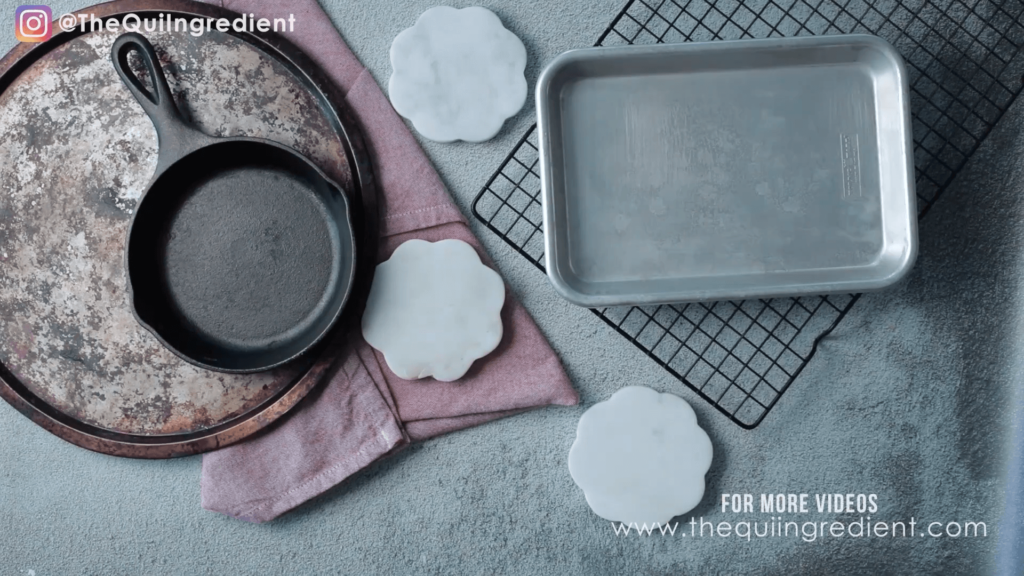
The other element that I like to use is these tiny baking sheets. The baking sheet that I’m using is 10×7.
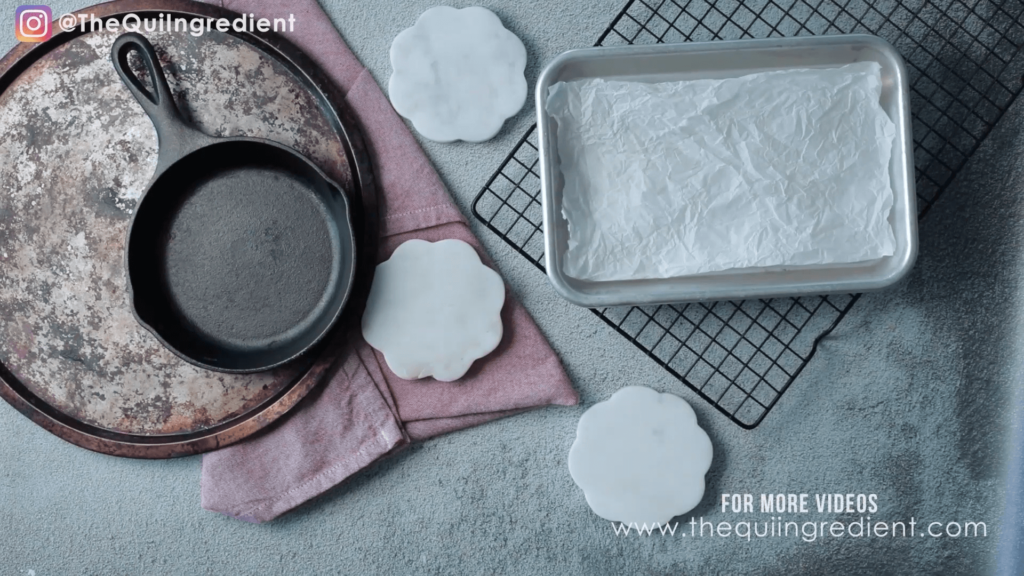
One of my favorite kitchen tools is parchment paper because it is so versatile. When I use parchment paper, my trick is to ball it up first. Then I un-ball it. This creates all this texture that starts to come into play just by me crumpling it up. I now crumple it up a second time. It doesn’t have to be perfect, but I line the baking pan, and I have this texture from where I’ve pulled it all together and taken it apart.
More No Plate Styling Ideas
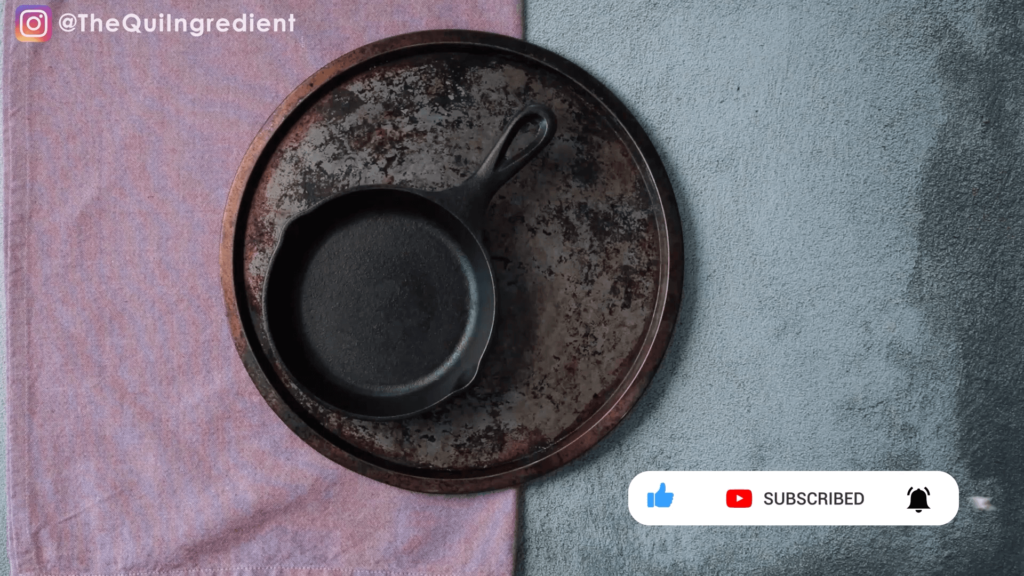
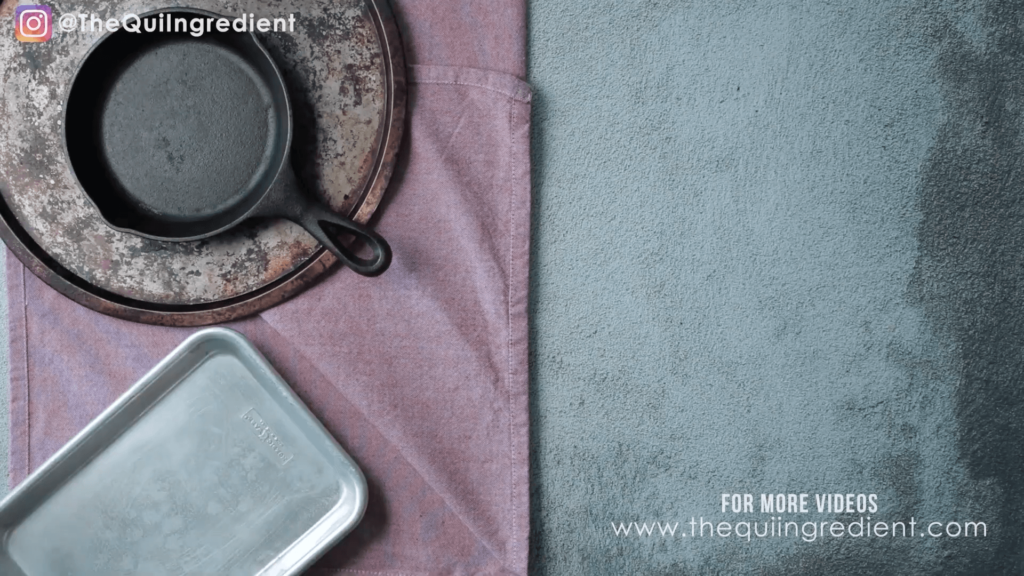
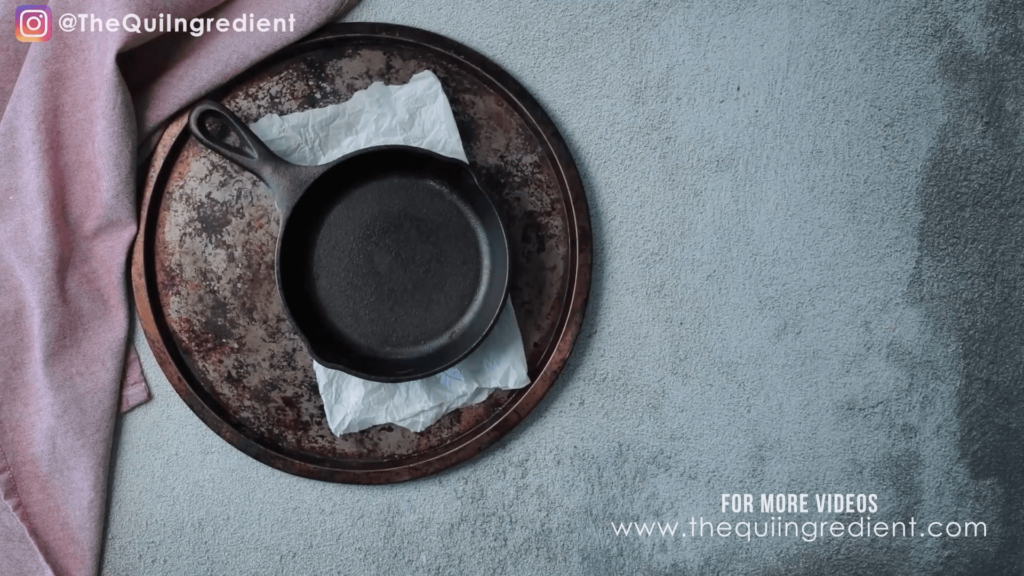
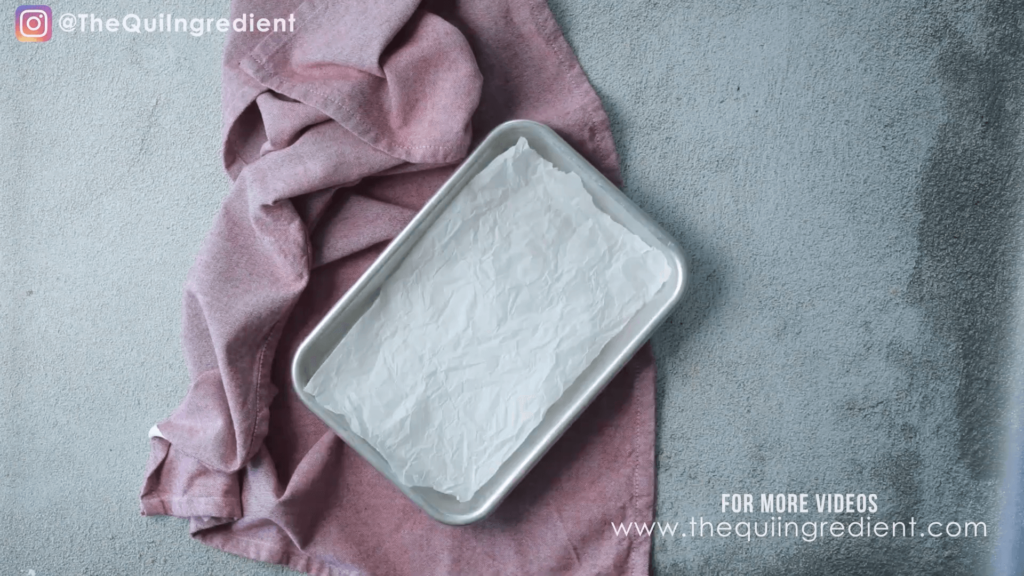
Preparation is key for everything that you do in photography and food photography. If you are struggling in food photography, it has little to do with creativity and styling, and everything to do with a lack of preparation.
I’m here to help you with that. You can get my Pre-Production Guide here. In there you are going to find all of my tips and tricks and everything that you need to know to do the heavy-lifting at the front of your shoot instead of during or after. You’ll walk away feeling more successful, your workflow will improve, the quality of your shots will improve, and you will walk away with a greater sense of pride and accomplishment, instead of feeling flustered and annoyed.
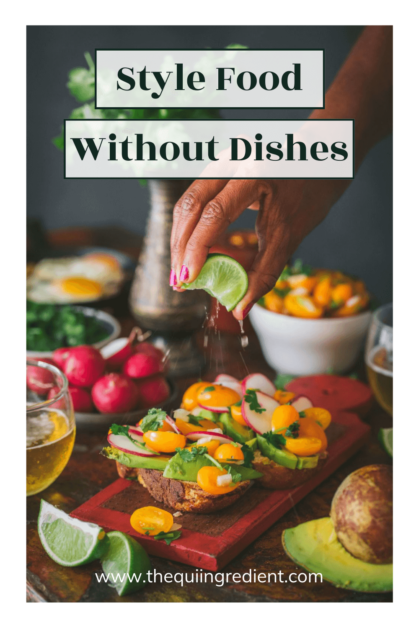
Pin For Later
Leave a Reply Cancel reply
You must be logged in to post a comment.
Done-For-You Seasonal Content Delivered To Your Inbox
Join The Qui Ingredient community to receive drag and drop content ideas planning tools and new backdrop releases.
find me on instagram - @thequiingredient
Menu
Homepage
About Quiana
work with me
subscribe to the newsletter
Copyright © The Qui Ingredient
Designed by Gillian Sarah
terms & Conditions
site notice
I am a food photographer, educator, and recipe developer, sharing my passion for bringing flavor to life through stunning visuals.
Hey there,
Privacy Policy
Disclaimer
read the blog