Hi There!
I'm Quiana adams
I am a food photographer and stylist, recipe developer, and educator, providing professional services for brands and insightful education for hobbyists and aspiring food photographers alike.
Recipes
Resources
Guides
categories
find me on Instagram
props i love
visit the prop shop
No photoshoot is complete without the right props.
looking for coaching?
BOOK now
Manual Mode Basics for Food Photographers

Be done with automatic! Learn how to take control of your images by switching to manual mode. Once you try manual mode and start to perfect, you will never go back.
The Three Elements of Manual Mode
Today, I’m going to teach you about the three elements you have to use in order to achieve proper exposure in your photographs: aperture, shutter speed, and ISO.
Each of these features has a specific function and is responsible for creating a certain look and various styles, especially when it comes to food photography.
Aperture
Aperture is controlled by the lens and is measured by the f/ stop scale. f/ can go from f/1.4 up to f/22. That’s a wide range.
The lower the number is as wide as you can get while f/22 is tiny. So the smaller the number the wider the lens and the bigger the number, the more narrow the lens.
The wider the aperture is where we get those dreamy images where the subject is in focus and looks very crisp, but everything in the foreground and background is blurred and out of focus.
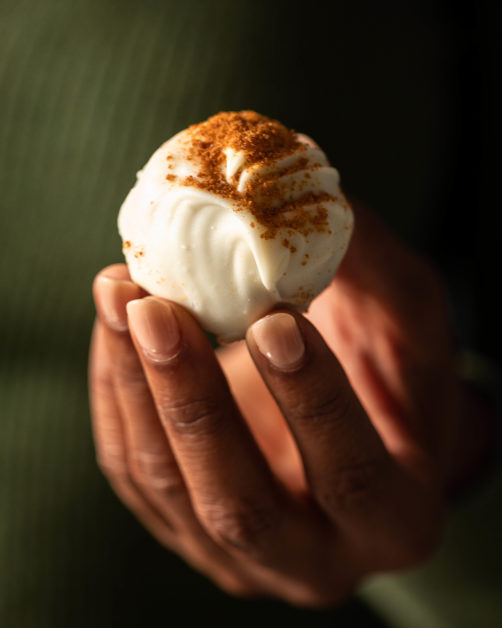
On the opposite end, when the aperture is tighter and smaller (higher number), then you get a wider depth of field. Everything in the foreground, the subject, and the background are going to be in focus.
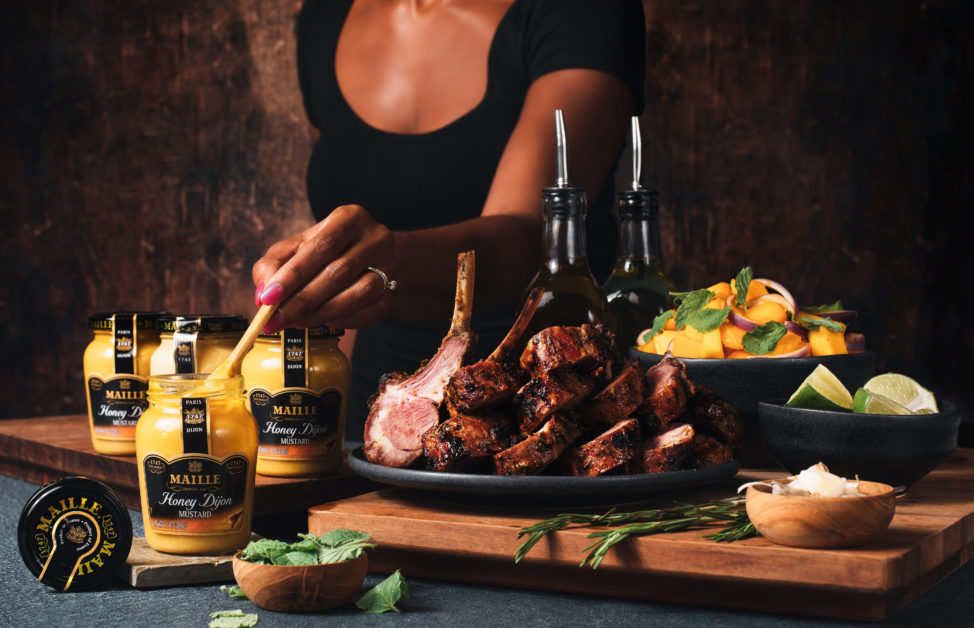
Depending on the look you are going for, you can decide what depth of field you would like.
For me, if I’m doing a straight-on, I like to have a shallower depth of field, so I’m going to shoot at an f/2.8 or f/1.4. Something where I make sure that my subject is sharp, but if I’m doing a flat lay and I have varying levels, I want everything on that flat lay to be in focus, so I’m going to tighten my aperture a little bit, so I’m going to bring it up maybe to an f/8, depending on my lighting conditions because I want everything from the lens all the way down to the floor to be in focus.
As a quick exercise, I want you to put your camera into Live Mode. As you have it in Live Mode, I want you to play with the aperture a little bit. Choose a subject, it doesn’t have to be anything crazy. A water bottle, your purse, a wallet, a bag of flour, whatever it is you have at your disposal, and I want you to start playing with the aperture. Take a couple of photos with the aperture as wide as it can get depending on the camera that you have, and go all the way and make the aperture as small as it will go. See what the image looks like. We are doing this in manual mode.
Depending on what you have your camera settings on, your image may be super bright or really dark, but we are going to get to that.
Shutter Speed
Next, we are moving on to shutter speed. Shutter speed and aperture go hand-in-hand. They work to balance each other.
Shutter speed is the length of time that the shutter is open. Shutter speed works with motion and blur. Depending on how fast or slow your shutter is opening and closing, will determine if you get those blur effects or if you actually stop motion.
If I’m shooting handheld in a low-light situation, I never shoot below one-eightieth of a second. Because I still want to maintain some action and motion in my photographs, and if you are hand-holding, then you could cause lens blur and not get the sharp images that you want.
When considering what shutter speed to use, you should think about your situation. What are you shooting? Who are you shooting? How are you shooting? This is really going to determine how fast or how slow your shutter speed should be.
If you are going to be capturing a drizzle or a sprinkle or some sort of splash and you want to freeze the action, you need to make sure that your shutter speed is fast. Otherwise, you are going to get a blurred effect. If that is what you are going for then great. If you want to freeze the action, you have to open the shutter speed for a fraction of a second.
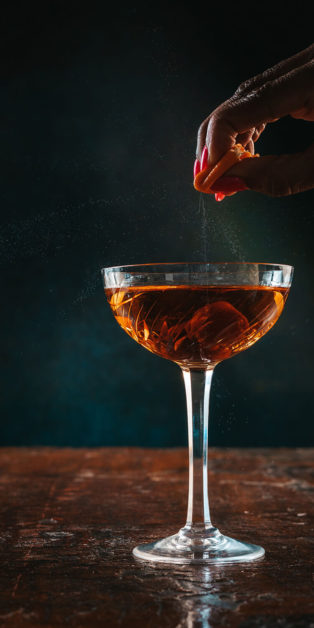
My tip is to experiment. When you go into your shoot and you start using manual mode, think about what it is that you want to capture. If you are trying to freeze the action, you need a faster shutter speed. If you want to show some blur, you need a slower shutter speed. Or if you are shooting something that isn’t moving and you are using natural light, you will want to slow down the shutter speed. The reason why is when you slow down the shutter speed, as it works with the aperture, it opens up but it is letting light in. The more light that you let in, it exposes the sensor. A faster shutter speed lets less light on your sensor, which can produce darker images.
As you experiment, make sure you play around with the different shutter speeds to see how to stop motion while also getting a properly exposed image. You may need to open your aperture a little bit wider and compensate for that fast shutter speed. It’s all about balance here.
ISO
ISO is something that made a difference for me when I was shooting events. Nowadays that I am shooting food, my range is about 100-400. If you plan on printing your images, you don’t want to go above 400 ISO. However, there are some cases where you just can’t help it. For example, if there’s not enough light in your kitchen then you will need a higher ISO.
ISO controls light sensitivity. Changing the ISO on your camera when you’re in manual mode, can drastically brighten or darken your photos. ISO is metered by film speeds, which range from 100 to 3200 on most digital DSLR cameras.
When you’re picking a film speed, there are some general rules that I’m going to explain to you, but for starters, think about 100 ISO like tight, firm sand. If you are going to pour water over firmly packed sand, it will take a long time for the water to seep down to the bottom for it to get through those tightly packed granules. Think of the water as light. You need more light, and it will take more time for the light to get in and expose the sensor.
On the opposite end, 2000 ISO, think about it like big, chunky rocks. If you pour water over that, it is going straight down to the bottom. It doesn’t need as much to get through.
100 is tight grains, and your images are not going to be pixelated. The chromatic abrasion is not going to be as intense, and you will have some nice, fine photos. However, it will take a lot of light, and it is probably going to take a slower shutter speed to get on the sensor.
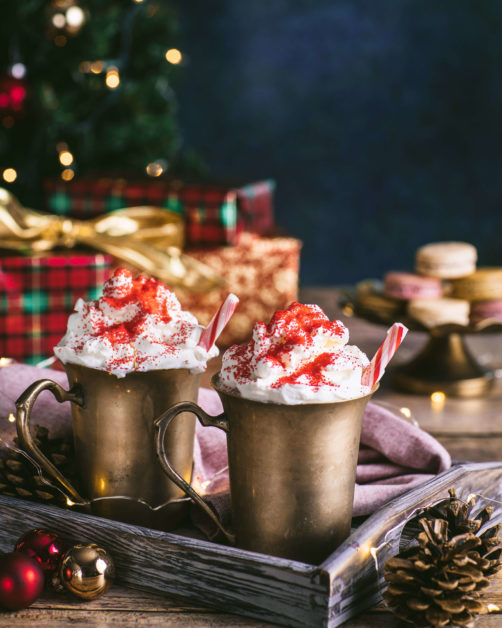
Whereas 400, 800, 1200 and up. Think of the grains getting bigger and bigger until they are giant boulders. It takes less light to expose that film, so you a little bit more wiggle room. Your aperture doesn’t have to be as big, and your shutter speed doesn’t have to be as slow to expose the sensor.
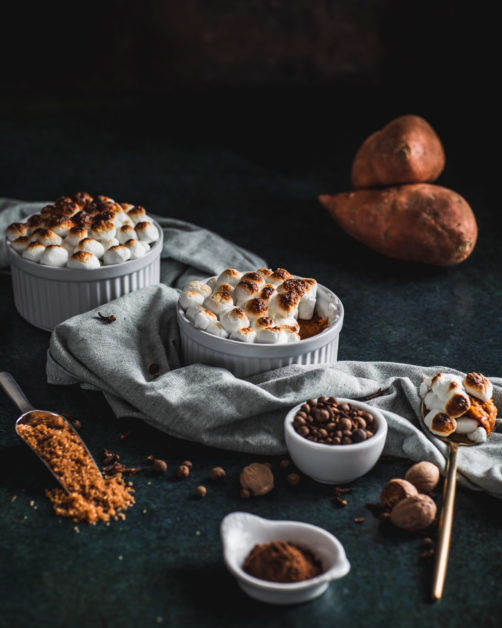
If you are using a lower ISO speed then you are going to have to spend a little bit more time working with the shutter speed, it will have to slow down significantly, and you may have to open up your aperture wider.
If you are working with a higher ISO, you will have a little bit more wiggle room. This is why most portrait photographers will shoot at 100 ISO. As a food photographer, we are shooting still life and we really want those fine details to come through.
Experiment
Now it is time for you to experiment. While you experiment, I want you to set a variable. Let’s say that your variable is that you are going to shoot at ISO 100, and you are going to do an aperture of 2.8. Those are the things that cannot change. You want to have a shallow depth of field. That is your focus. The thing that is going to have to compensate for those two things is shutter speed.
If you want to capture an action shot of a drizzle of honey, you know that the shutter speed has to capture the action, so it has to be faster.
As you experiment, remember to pick a constant. You play with it a little bit, and that is how you start to grow. Pick your constant, and then add in your variables.
I recommend before you set up a full photoshoot, shoot things around your house. Choose things around your home that don’t need any fixing up that have depth, wrinkles, or coils, and then really try to play with these elements before you spend time cooking and setting up for a food photoshoot. When you get a really firm grasp on how all of these elements work together, then you can go on and move into your shoots feeling more confident about the process.
Are you ready for manual mode? What has been the biggest obstacle that you have experienced since you have started? Leave a comment to let me know.
Add to Pinterest
Leave a Reply Cancel reply
You must be logged in to post a comment.
Done-For-You Seasonal Content Delivered To Your Inbox
Join The Qui Ingredient community to receive drag and drop content ideas planning tools and new backdrop releases.
find me on instagram - @thequiingredient
Menu
Homepage
About Quiana
work with me
subscribe to the newsletter
Copyright © The Qui Ingredient
Designed by Gillian Sarah
terms & Conditions
site notice
I am a food photographer, educator, and recipe developer, sharing my passion for bringing flavor to life through stunning visuals.
Hey there,
Privacy Policy
Disclaimer
read the blog